(see previous post for schematic: http://orangenarwhals.blogspot.com/2011/12/eagle-persistent-hotkeys-emergency-h.html)
what was it? a 6.131 final project / motor controller for hexarideablepod (derived off of an instructables):
which works, but uses an arduino and two victor speed controllers -- total overkill. also, terrible UI: it uses a hard to reach switch for fwd/bwd and foot pedals, which little kids have issues reaching even with the awesome!adjustable-car-seat.
| block diagrams! ewww. |
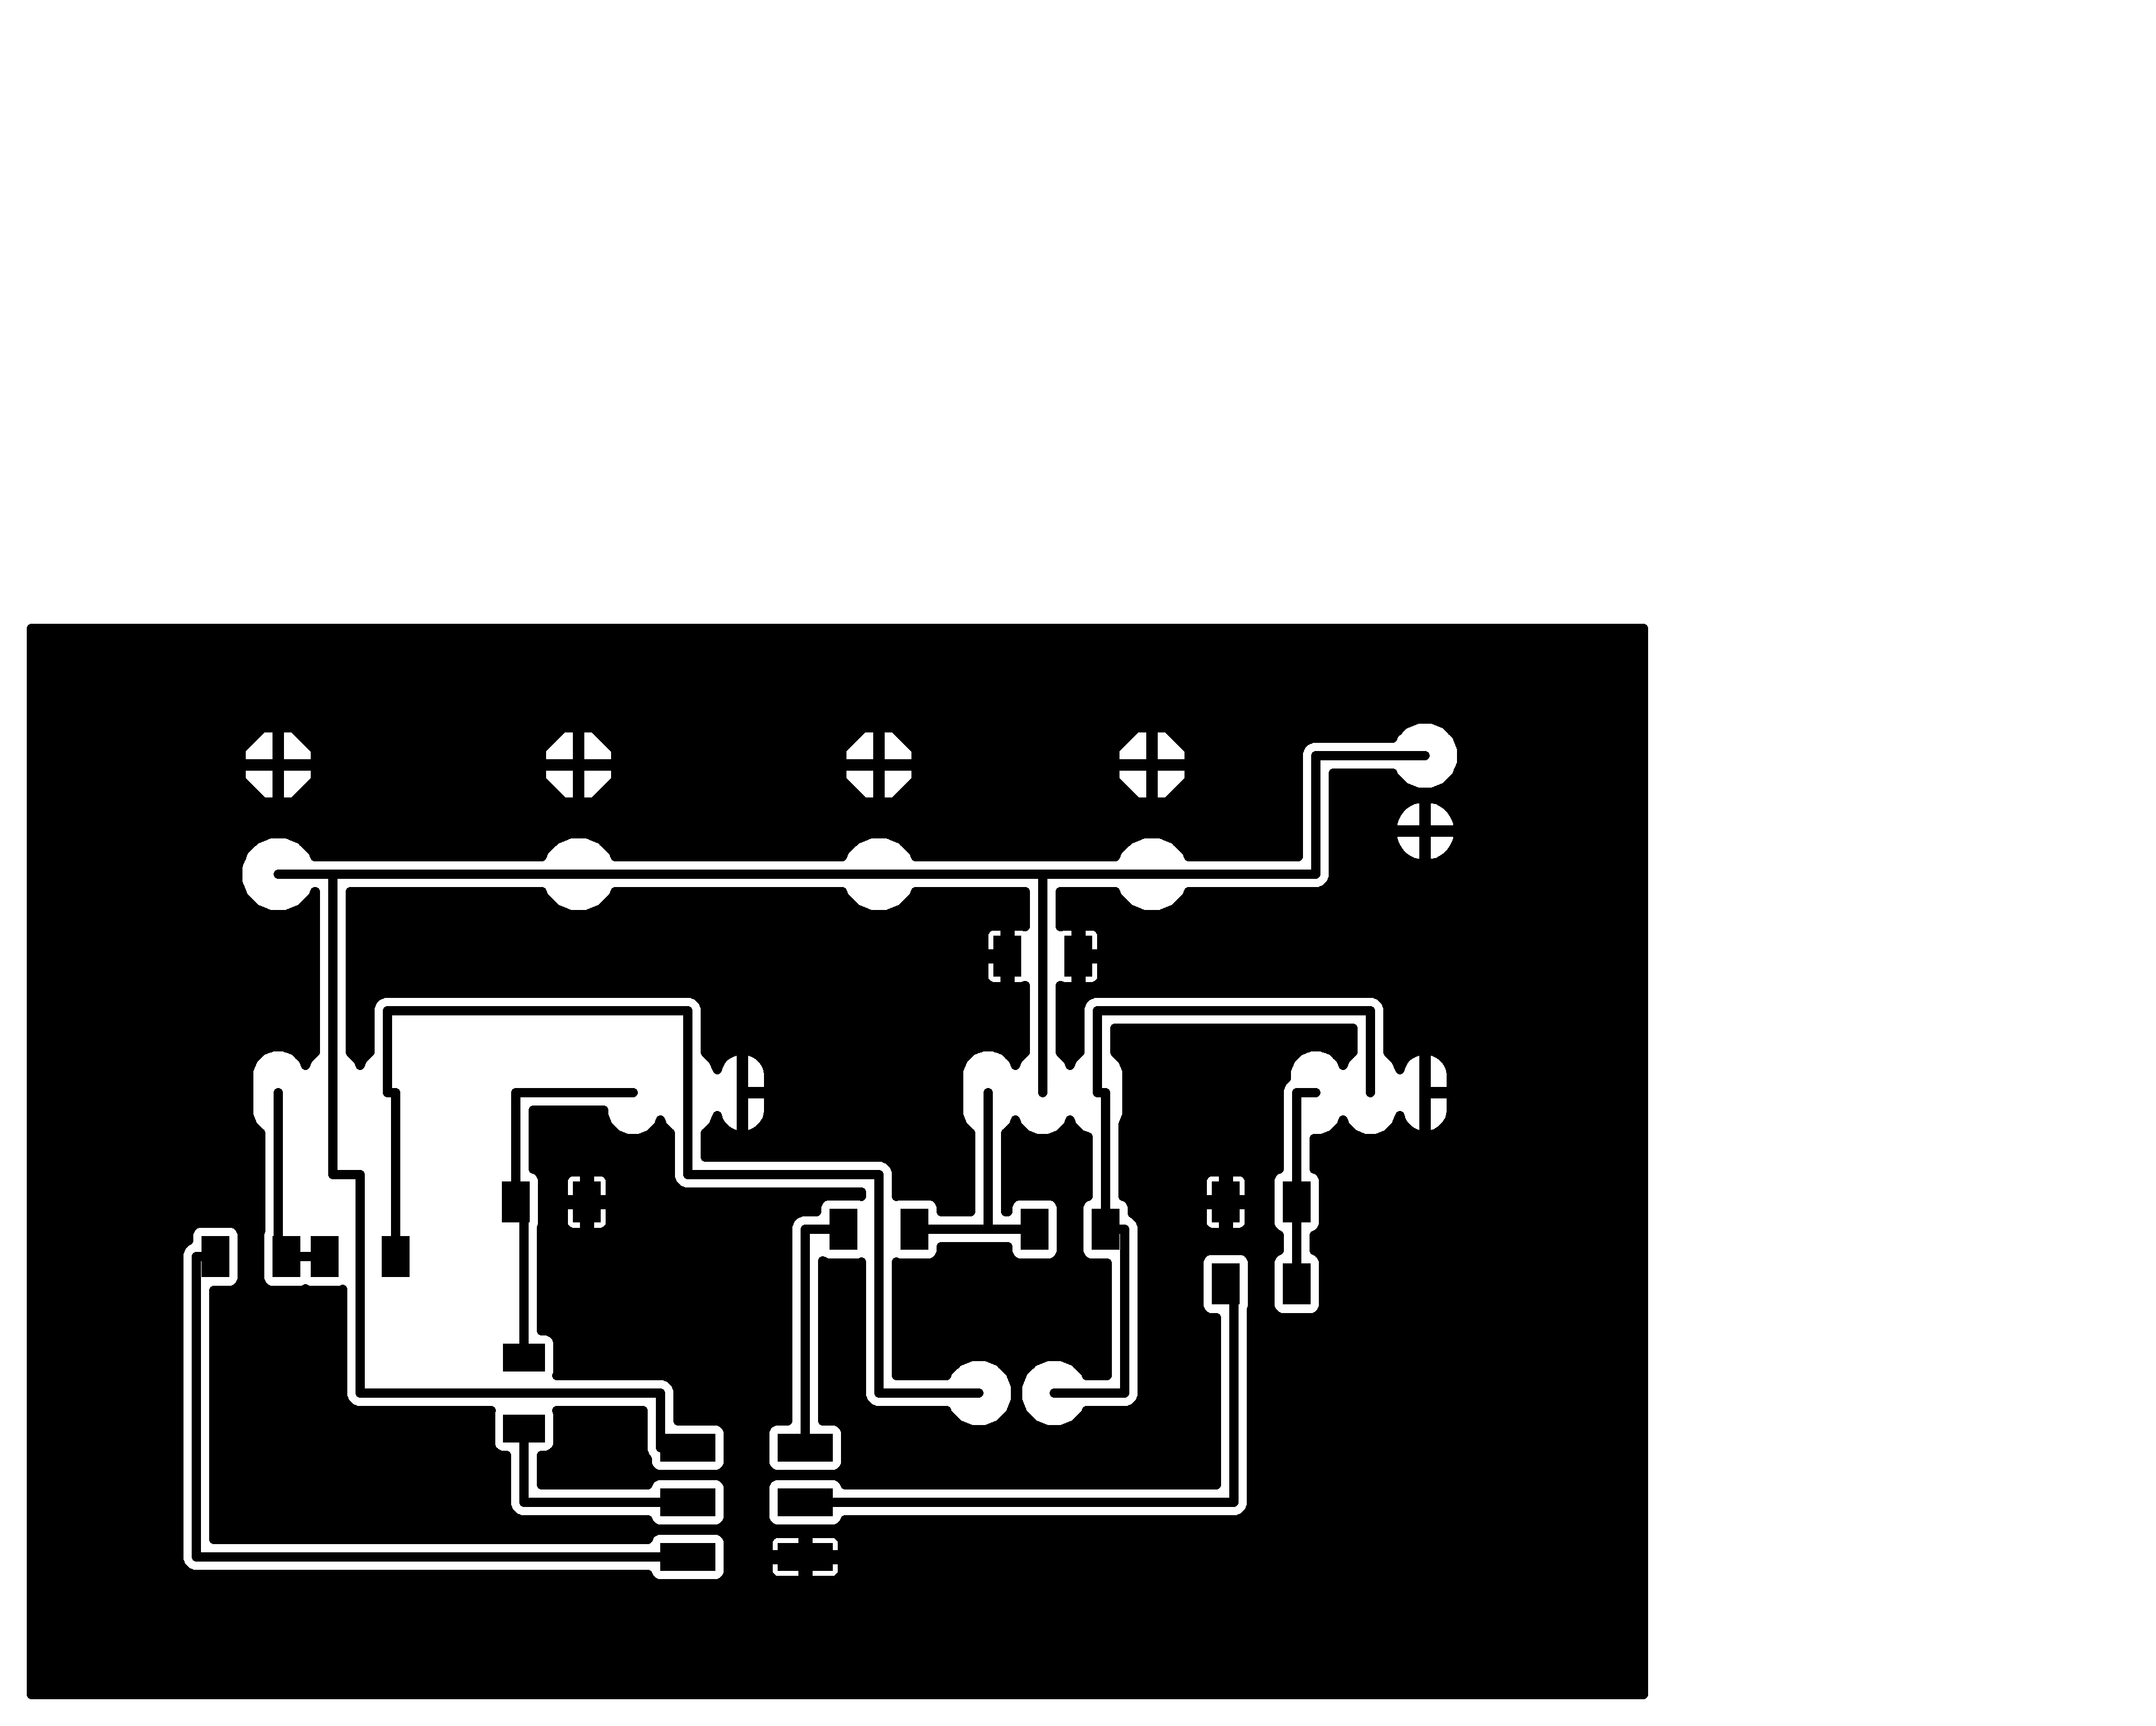
https://github.com/nouyang/hexapodtroller for the eagle sch/brd. You can see terrible routing here:
 |
| power board (4 FETs to make a full H-bridge) |
 |
sig board -- attiny44 and four FET drivers (21844s). also, chain voltage regulators from 24v battery to 15v for drivers to 5v for attiny logic.
speed routing and my inexperience led to use of 24 zero ohm resistors and I still used a jumper :)
 |
| hai zero ohm resistor friends |
If you look closely, you can see some of the trace fails (compare IRL to board layout) which were probably due to too high error allowances when the fab module was creating the roland modela machine code. See: pins 8 and 9 on the top right side of the topmost IC, the attiny44. They're connected on the board but not on the schematic. I used eagle's erc/drc and it didn't point out a warning so I'm going to assume it was mill code generation settings, not limits of mill capability.
I discovered how useful eagle layers are, even in the interface is terribly clunky.
Another note, I milled out the moles CNC-ly too using GIMP to get the traces I needed, but :/ milled them out too small and had difficulty getting the 3.5mm spacing power connectors to go through the board -- had to carefully use a vise.
This is what the final half-populated boards looked like:


No comments:
Post a Comment